Using Guides in Illustrator
Creating Data
Working Guides
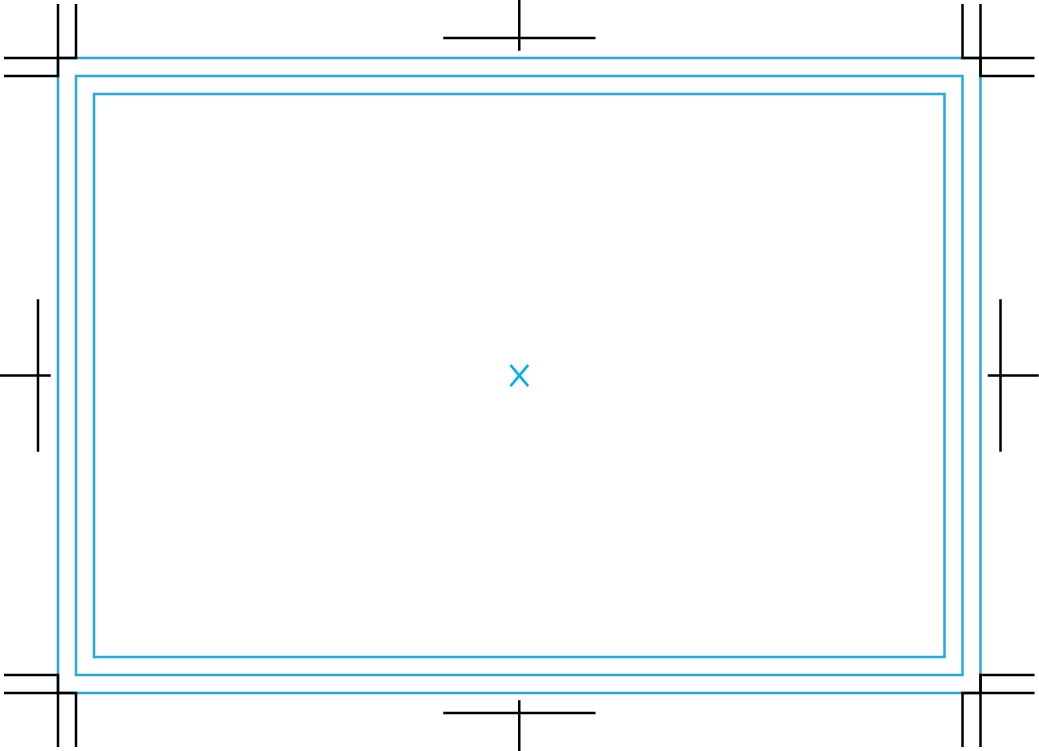
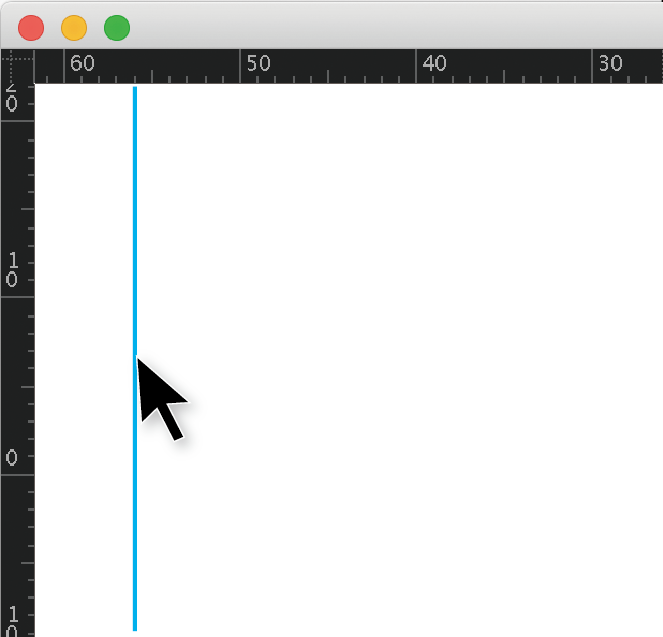
Guides are non-printing lines you can use to align text, images, and other objects accurately. They show as blue lines on screen but will not appear in print, so feel free to use them for trim lines, fold marks, or layout alignment.
How to Create Guides
Method 1: Convert a Shape or Line into a Guide
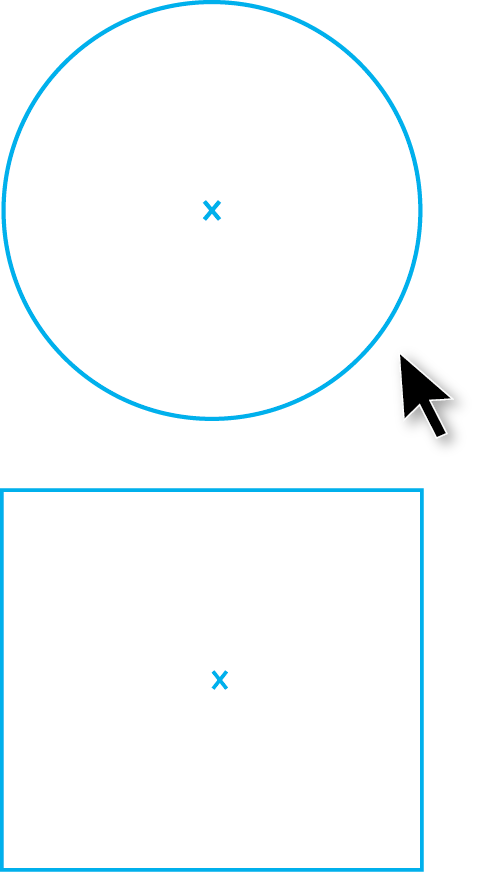
Step 1
Draw the shape or line where you want a guide.

Step 2
Select the object. Go to View → Guides → Make Guides.

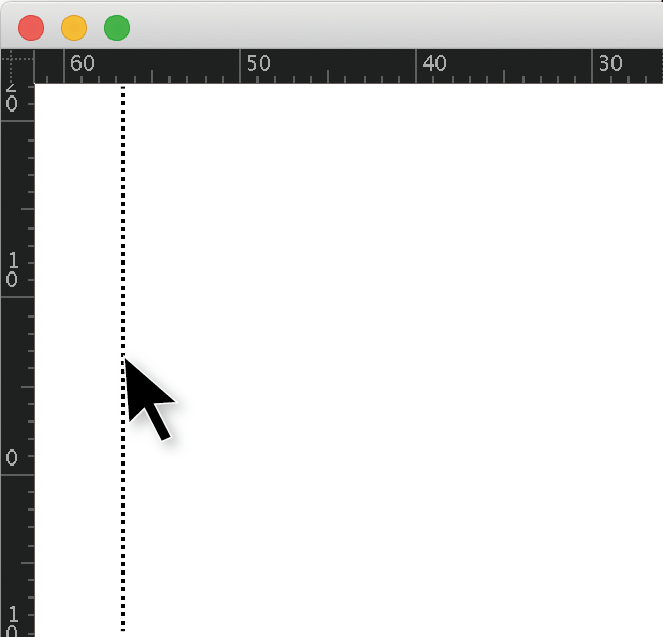
Step 3
The selected object becomes a guide.
Method 2: Drag Guides From the Rulers
Step 1
Make sure rulers are visible.
If not: View → Rulers → Show Rulers.

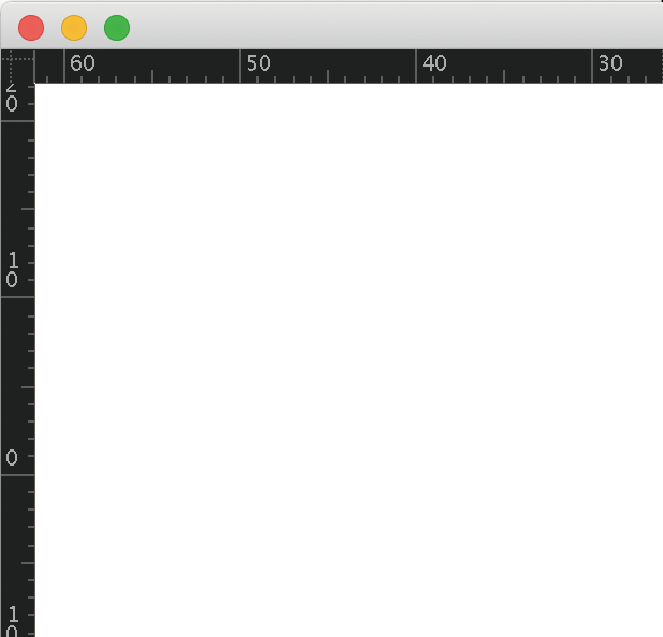
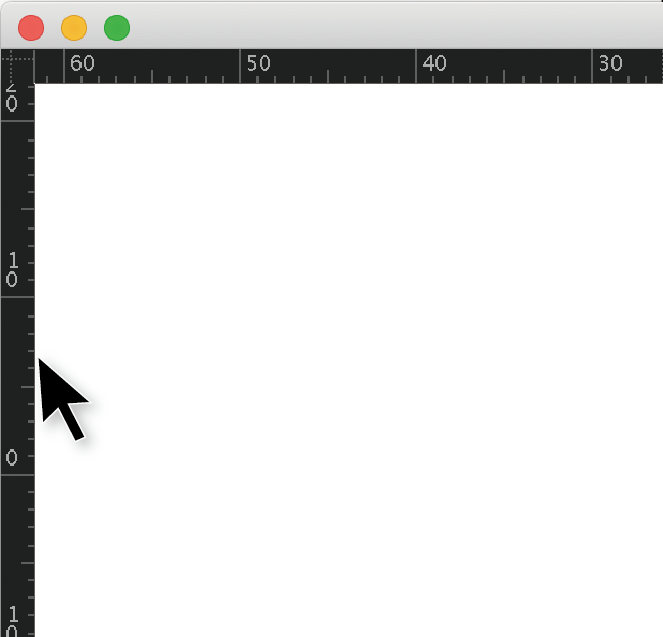
Step 2
Click and drag from the top ruler (for horizontal guides) or the left ruler (for vertical guides).
Release at the position where you want the guide.
Guide Controls (Lock, Hide, Delete)
You can manage guides from View → Guides:
Hide Guides – Temporarily hides all guides.
Lock Guides – Prevents guides from moving accidentally.
Unlock Guides – Allows guides to be moved or deleted again.
Make Guides – Turns selected paths into guides.
Release Guides – Converts guides back into editable paths.
Clear Guides – Deletes all guides on the artboard.


